My first Diggle
My first steps
Create a Diggle
- Interactive slides
- Content slides
- Create a test with a passing grade
- Create and run a quiz
- Customize logo
- Collaborate on content creation
- Merge slides
- Select question types
- Colors and styles
- Add images
- Custom fonts
- The Content Tab
- The Design Tab
- Import from other Diggle
- Import from PPT or PDF
- Leaderboard Calculation
- Register Participant Information (RPI)
- Quiz Points Calculation
Question types
Present live
- Present using Fullscreen
- Interactive Result Layouts
- Display the QR code
- Open and Close Submission
- Show results on devices
- Sneak Peek functionality
- Change Navigation Pace
- Hide Login Details
- Share the presentation screen
- Present on a Separate Display
- Present using Backstage
- Presentation Modes
- Navigation Modes
- Quick Onboarding
Invite participants
Results & Reports
Collaborate with others
AI - Diggle Buddy
Company Workspace
Account and settings
GDPR
Security
FAQ & Troubleshooting
- Join code has expired
- How do I use Diggle for remote learning and surveys?
- My QR code isn´t displaying
- Presentation screen is not displayed
- The leaderboard isn’t calculating scores correctly
- How do I recover a deleted Diggle or session?
- My participants are seeing the wrong slide
- How do I use Diggle for remote learning and surveys?
- How to switch between numbers and percentages
- How to interact with the result layouts
Table of Contents
Welcome to Diggle! It’s an intuitive platform for facilitating interactive learning, data collection, and more. We aim to make collaboration as easy and engaging as possible—this guide shows you the basics.
Create your Diggle account
First, you’ll need a Diggle account. Here’s how to sign up for a free, basic or pro account at diggle.com.

Log in and access your workspace
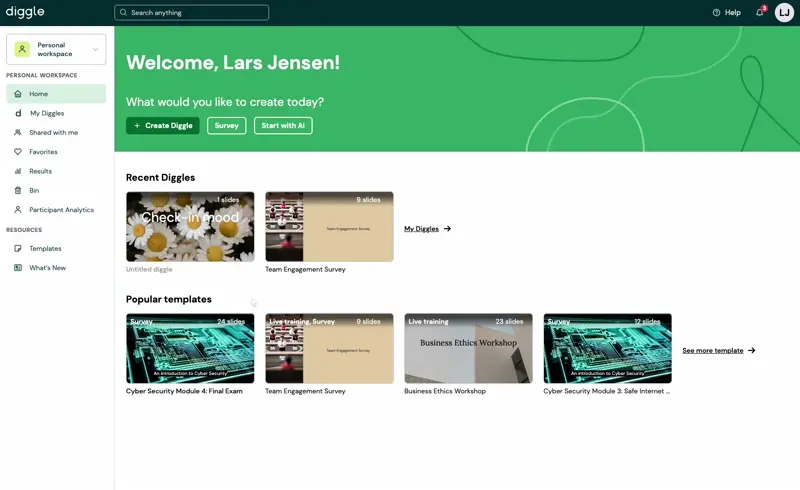
Log in to your account, and you’ll land in the Homepage of your Workspace. Here you will see your recent Diggles, popular templates and shortcuts to help you kickstart your Diggle creations.
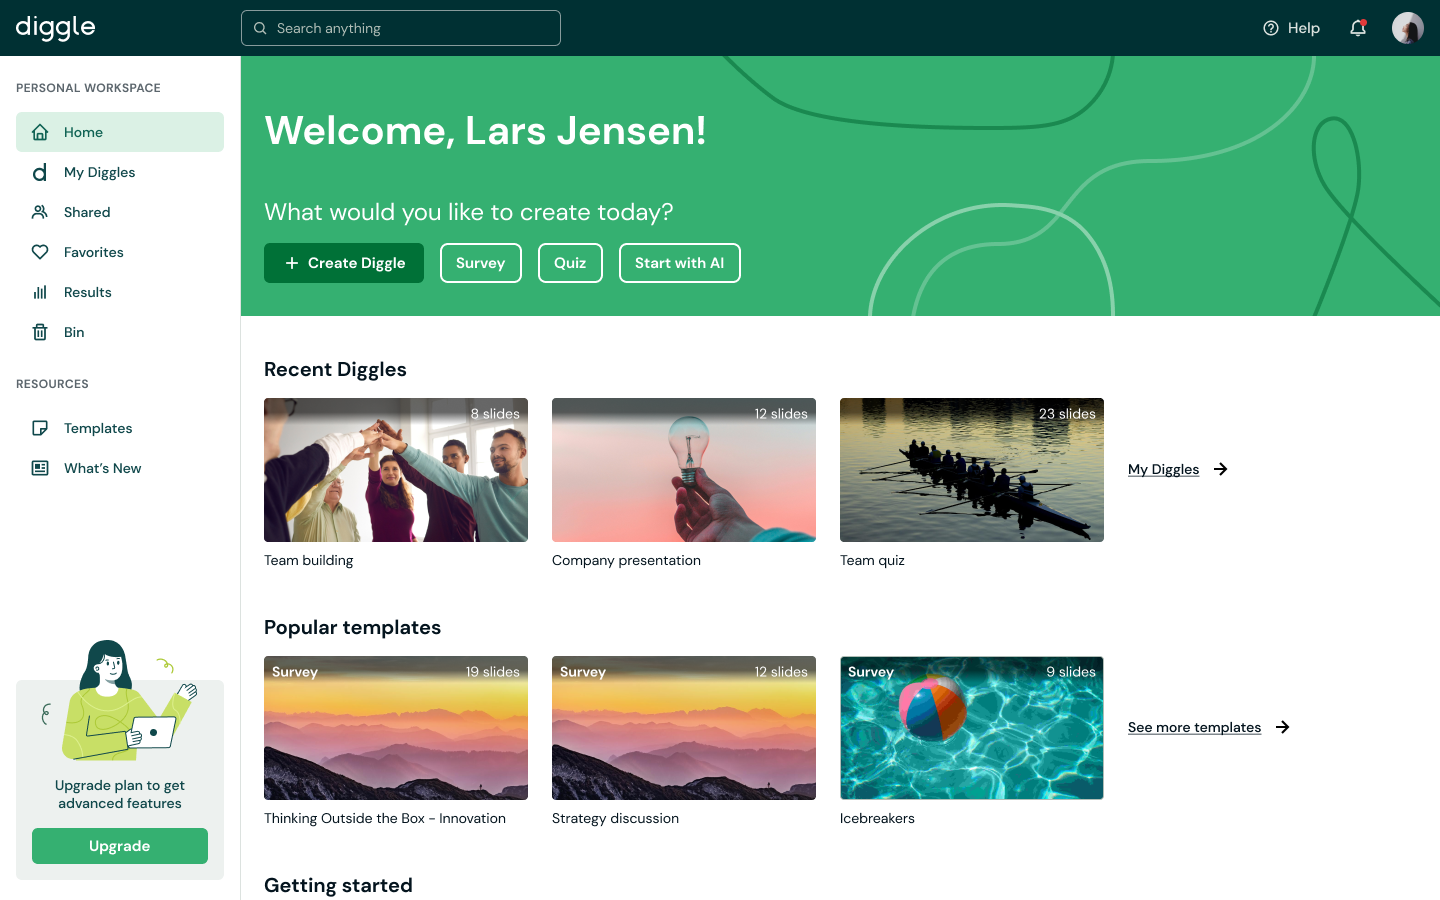
Homepage navigation
From the homepage, you can choose how to create your Diggle. We have created some shortcuts to make it easier to get started.
Create Diggle Ideal for live, presenter-paced sessions, perfect for interactive classroom training, meetings, and workshops.
Survey Use this for audience-paced sessions, such as remote learning, evaluations, or feedback collection, where participants can complete the content at their own pace.
Quiz Designed for interactive quizzes and fun, engaging sessions. This setup is perfect for both serious testing and light-hearted competition.
Start with AI Utilize AI to assist in creating your Diggle session, saving time and providing innovative suggestions.
Additionally, you can quickly access Recent Diggles and Popular Templates to start from a previously used setup or choose a template that fits your needs.
Create your content
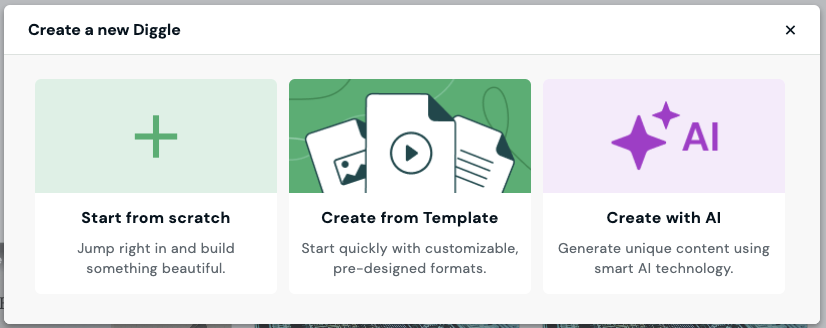
After selecting an option (Create Diggle, Survey, or Quiz), you’ll be taken to the Builder. The builder is where you create your Diggle. Here’s how to get started:
Starting from Scratch:
– Click on the “+ Add Slide” button.
– Choose the type of slide you want (e.g., multiple choice, open-ended, ranking).
– Add your content by typing directly into the slide editor.
Editing Content:
– Select an existing slide from the slide list on the left.
– Edit the text, images, or interactive elements as needed.
Using Templates:
– Choose from pre-designed templates to quickly set up your session.
– Customize the templates to fit your specific needs by adding or editing content.
Using the builder
The builder is where you add slides, enter and edit content, invite participants, and start your live presentations. Let’s focus on creating content for now.
In the top left corner, you can add slides or import from PPT/PDF or other diggles.
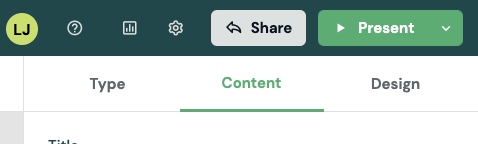
The three tabs on the right allow you to select the Type of question, add and edit Content and customize the Design of each individual slide.

The Type tab
To add a question, click the + Add slide button. The Type menu will open, where you can select your next question type. The question types are categorized into Basic and Advanced based on their typical use and feature settings. In addition, there are Content slides, non-interactive slides designed for displaying text, images or video.

The Content tab
The content editor allows you to customize each slide according to its specific type. The options will vary depending on the slide’s functionality.
Here’s a generic overview:
Question Add and edit the main content, such as questions, instructions, and descriptions.
Options Enter the option alternatives for multiple choice-related question types.
Media Upload and insert images to enhance engagement.
Settings Adjust specific settings for each slide type, such as reply settings, quiz options, or timer settings.

The Design tab
The Design tab allows you to customize the visual appearance of your slides. Here are the functionalities:
Layout Selection Choose between different slide layouts to arrange your content effectively.
Font Family and Text Color Select the font style and color for your text to ensure readability and match your branding.
Basic Color Set the primary color for your slide elements, like buttons and progress bar.
Background Color Choose a background color for your slides.
Chart Colors Assign specific colors to different chart elements, such as bars in a bar chart, for better visual distinction.
Background Image Drag and drop or browse to upload a custom background image for your slides.
Theme Customization: Update the current theme or save your customizations as a new theme for future use.

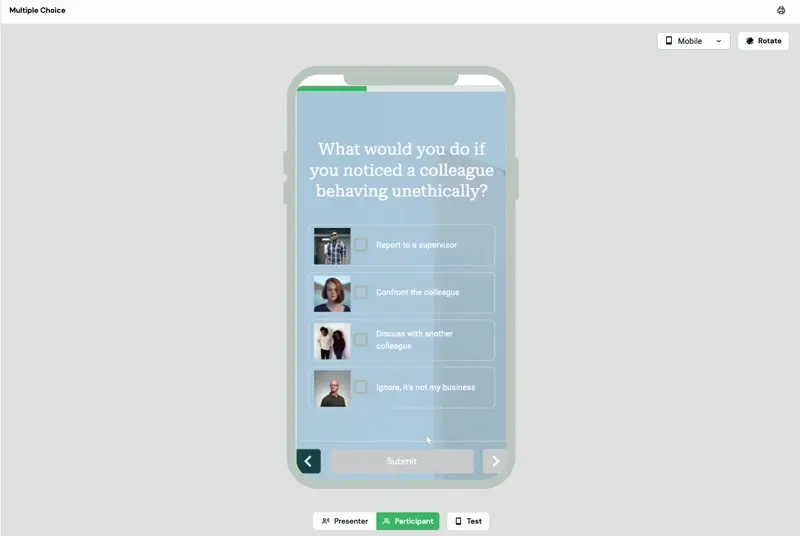
Preview and adjust
Switch between Mobile, Tablet, and Desktop views to see how your session will look on different devices. Select Test to see the result layouts as they will look when you present live.
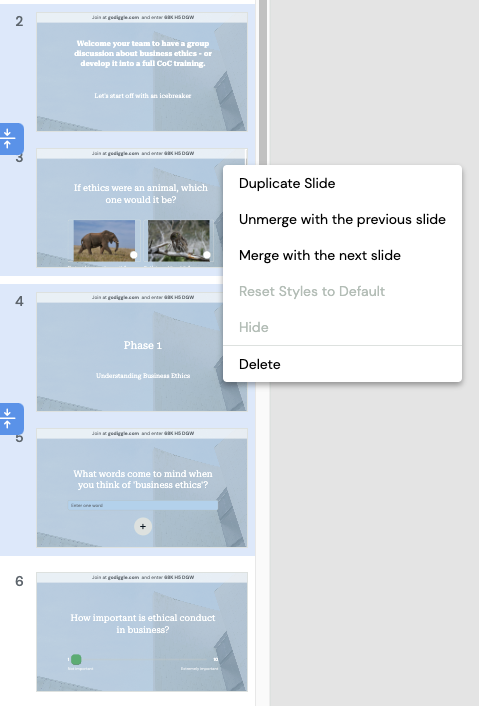
Reorder, duplicate and delete slides
You can drag and drop questions in the left panel to reorder then. Left-click to duplicate, delete or merge.
Present your Diggle live
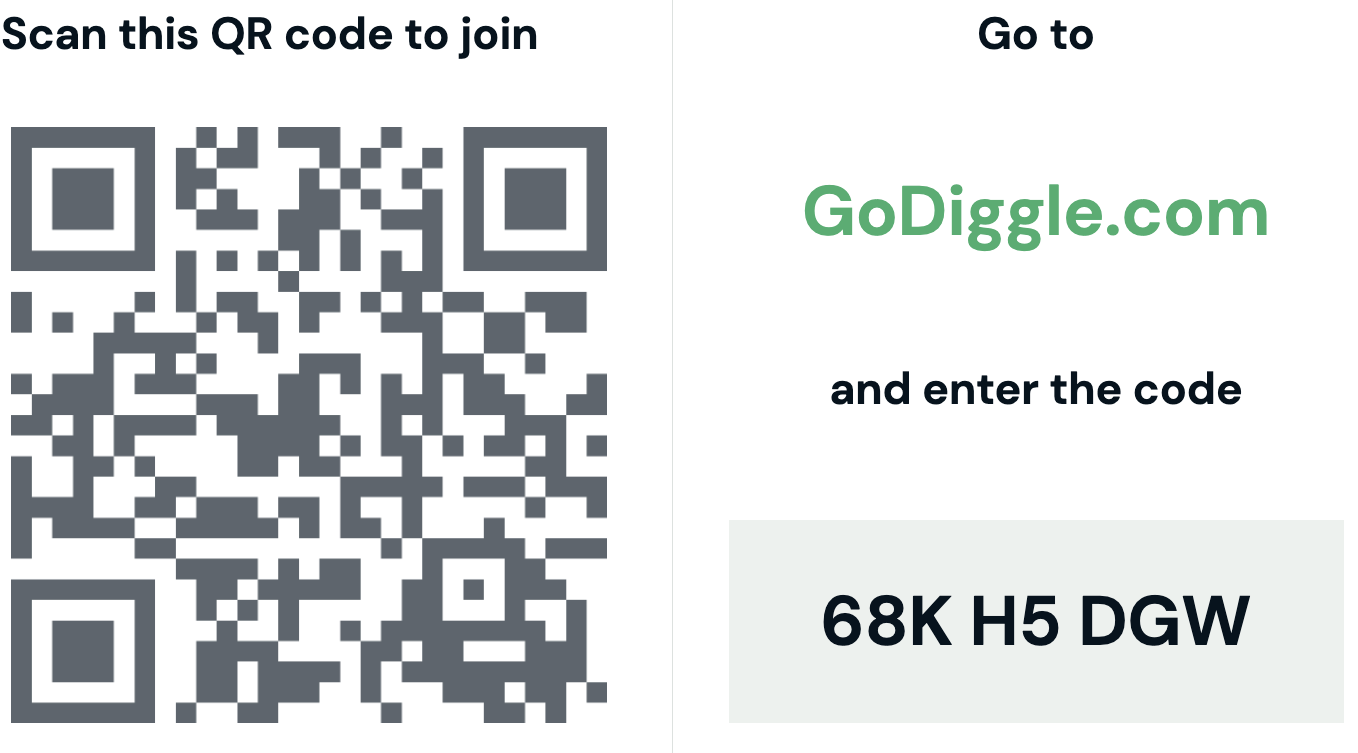
When ready, hit the Present button to go live in a classroom or meeting. Anyone who scans the QR code or enters the code at godiggle.com can now join.
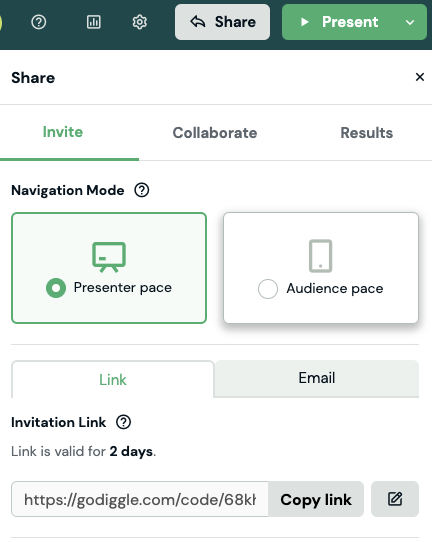
Invite people to join remotely.
Go to the Share panel to find the link to share a participation link or to invite by email. Read more about invite here.
Autosave and Updates
Your work is saved automatically. After publishing, you can edit your session anytime, and changes will be saved automatically. If you want to keep your Diggle intact, just make a copy.